

Ultimate Chicken Drumsticks Oven Recipe: A Savory Delight For All Tastes
Are you ready to tantalize your taste buds with a mouthwatering chicken recipe that will leave you craving for more? Look no further! In this comprehensive guide, we will explore the art of preparing succulent chicken drumsticks in the oven. So put on your apron and let’s dive into the world of flavor, texture, and culinary perfection.
Food Science – The Magic Behind Tender Drumsticks
Before we delve into the intricate details of the recipe, let’s get familiar with the science behind achieving tender and juicy chicken drumsticks. Understanding the food science aspect will not only elevate your culinary skills but also enhance your appreciation for the cooking process.
-
Protein Structure: Chicken drumsticks primarily consist of protein, and understanding its structure is crucial to achieving desired results. Heating the chicken causes the proteins to denature and subsequently rearrange into a firmer structure, creating a firm and succulent end product.
-
Maillard Reaction: The Maillard reaction is a chemical reaction that occurs between amino acids and reducing sugars at high temperatures. This reaction brings out complex flavors and enhances the browning of the chicken’s skin, resulting in a visually appealing dish with delectable flavors.
-
Collagen Breakdown: Chicken drumsticks benefit from a slow cooking method like oven baking as it helps break down collagen, a tough connective tissue in the muscles. This collagen breakdown results in tender, fall-off-the-bone meat.
Now that we’ve established the scientific foundation, let’s move on to the practical aspects of selecting, cleaning, and preparing the chicken drumsticks.
Selecting and Cleaning – The Quest for Quality
When it comes to chicken drumsticks, selecting high-quality ingredients is paramount. By choosing the best drumsticks available, you set the stage for a truly remarkable culinary experience. Keep these points in mind while purchasing:


-
Freshness: Look for drumsticks that are plump, moist, and have a fresh smell. Ensure that the skin is intact and free of any blemishes or discoloration.
-
Organic and Free-Range: Opting for organic or free-range chicken drumsticks ensures that the birds are treated humanely and fed a nutritious diet. This choice also provides a richer and more complex flavor.
Cleaning the drumsticks is a crucial step to maintain hygiene and ensure the best taste:
-
Rinse and Pat Dry: Rinse the drumsticks under cold water to remove any impurities. Pat them dry thoroughly with paper towels to promote better browning during the cooking process.
-
Remove Excess Fat and Feathers: Using a sharp knife, trim any excess fat or feathers from the drumsticks. This step enhances the overall presentation and makes them more visually appealing.
Now that the chicken drumsticks are prepped and ready, it’s time to move on to the exciting part – the preparation and cooking process!
Preparation and Tips – A Perfect Symphony of Flavors
Preparing chicken drumsticks for oven cooking involves a combination of marinating, seasoning, and carefully selected cooking techniques. Here’s your go-to guide to achieve the ultimate flavor profile:
-
Marinating: Marinating the drumsticks imparts additional flavors and enhances the tenderness of the meat. Consider marinating them for at least 2-4 hours or overnight for optimal results. Popular marinade options include a mixture of olive oil, garlic, lemon juice, herbs, and spices.
-
Seasoning: Seasoning is where you can unleash your creativity and tailor the flavors to your liking. A popular spice blend for chicken drumsticks includes paprika, garlic powder, onion powder, salt, black pepper, and a hint of cayenne for a little kick. Apply the seasoning generously to both sides of the drumsticks to ensure a well-balanced taste.
-
Preheating the Oven: Proper preheating is crucial to achieve even cooking and a beautifully browned exterior. Set your oven to 375°F (190°C) and allow it to preheat for around 15-20 minutes.
Now that we have covered the essential preparation steps, here are a few tips to take your chicken drumsticks to the next level:
-
Elevate the Flavor with Brining: If you want to infuse the drumsticks with extra moisture and flavor, consider brining them before marinating. Brining involves soaking the drumsticks in a mixture of water, salt, and, optionally, sugar for a few hours before proceeding with the marinade.
-
Time for a Crispy Crunch: For those who prefer a crispy skin, a technique called "oven frying" can be employed. Simply coat the drumsticks in a thin layer of flour or breadcrumbs before applying the marinade and seasoning. This method creates a delightfully crunchy exterior while maintaining the juicy meat within.
With our preparation tips in hand, let’s move on to the crucial aspect of checking for doneness, as overcooking or undercooking can diminish the pleasure of your endeavors.
The Art of Doneness Checks – Tender Perfection Awaits
Ensuring precise cooking time and checking for doneness is paramount to achieving perfectly cooked chicken drumsticks. While cooking times may vary depending on the size and thickness of the drumsticks, here are some indicators to look for while checking for doneness:
-
Internal Temperature: The most reliable way to ensure the drumsticks are cooked to perfection is by using a meat thermometer. Insert the probe into the thickest part of the drumstick, making sure it does not touch the bone. The chicken is considered safe to eat when the thermometer registers at least 165°F (74°C).
-
Juices Run Clear: Another visual cue for doneness is to pierce the thickest part of the drumstick with a fork or knife. If the juices run clear without any traces of pink, it signifies that the chicken has reached the desired doneness.
Remember, carryover cooking occurs after removing the drumsticks from the oven. Allow them to rest for a few minutes, which helps redistribute the juices and ensures a moist and tender outcome.
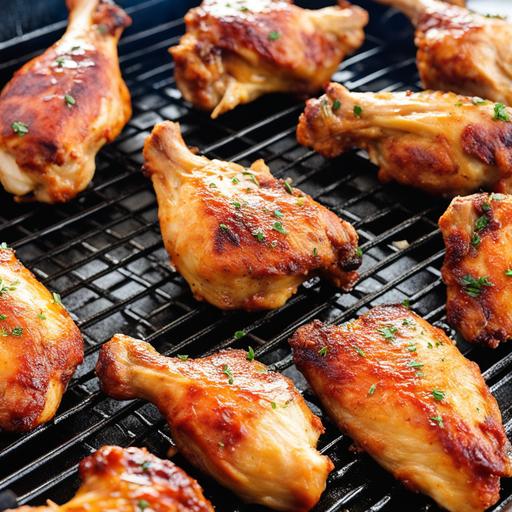
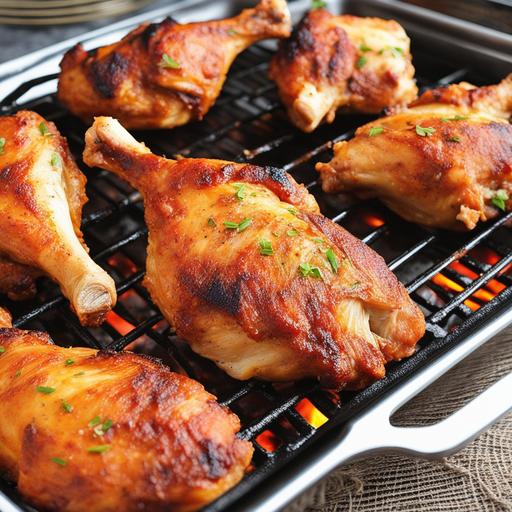
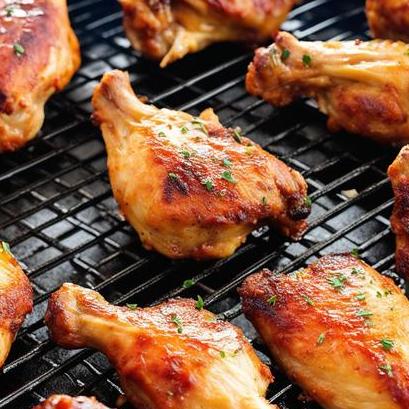
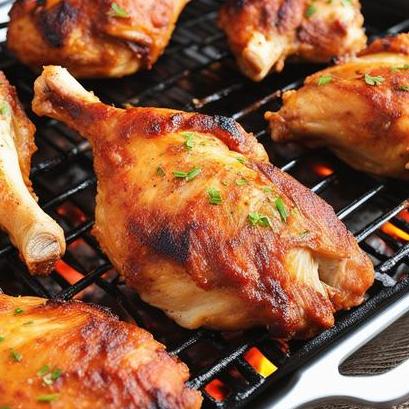
Recipe: Irresistible Oven-Baked Chicken Drumsticks
Now that we’ve explored the science, selected the finest ingredients, perfected the cleaning and preparation process, and learned how to check for doneness, it’s time to unveil our foolproof oven-baked chicken drumsticks recipe:
Ingredients:
-
8 chicken drumsticks
-
2 tablespoons olive oil
-
4 cloves garlic, minced
-
1 tablespoon lemon juice
-
1 teaspoon paprika
-
1 teaspoon garlic powder
-
1 teaspoon onion powder
-
1 teaspoon salt
-
½ teaspoon black pepper
-
Optional: Cayenne pepper for a spicy kick
Instructions:
-
Preheat the oven to 375°F (190°C) and line a baking sheet with parchment paper for easy cleanup.
-
In a bowl, combine the olive oil, minced garlic, lemon juice, paprika, garlic powder, onion powder, salt, black pepper, and cayenne pepper (if desired).
-
Place the chicken drumsticks in a large ziplock bag or shallow dish and pour the marinade over them. Ensure all the drumsticks are thoroughly coated. Seal the bag or cover the dish and refrigerate for at least 2-4 hours or overnight for the best flavors.
-
After marinating, remove the drumsticks from the refrigerator and let them sit at room temperature for about 15-20 minutes. This allows for more even cooking.
-
Transfer the drumsticks onto the prepared baking sheet, ensuring they are evenly spaced and not touching each other. Brush any remaining marinade over the drumsticks for an extra burst of flavor.
-
Place the baking sheet in the preheated oven and bake for approximately 35-40 minutes, or until the internal temperature reaches 165°F (74°C).
-
Once cooked, remove the drumsticks from the oven and let them rest for a few minutes before serving. This step allows the juices to redistribute within the meat.
Savor the delectable aromas and flavors as you bite into your perfectly cooked oven-baked chicken drumsticks. Serve them alongside your favorite sides, such as roasted vegetables, creamy mashed potatoes, or a fresh salad, for a complete and satisfying meal.
Variations – Exploring Endless Possibilities
While our oven-baked chicken drumsticks recipe provides a solid foundation for a scrumptious meal, don’t be afraid to experiment and add your own unique twists. Here are a few variations to spark your culinary creativity:
-
Asian Fusion: Enhance the flavors by adding soy sauce, ginger, sesame oil, and honey to your marinade. Top the cooked drumsticks with toasted sesame seeds and chopped green onions for an Asian-inspired twist.
-
Smoky Barbecue: Replace the paprika in the seasoning with smoked paprika and add a generous amount of your favorite barbecue sauce during the last few minutes of baking. This variation delivers a bold, smoky taste.
-
Spicy Buffalo: Craving some heat? Toss the cooked drumsticks in a mixture of melted butter and buffalo hot sauce. Serve with a side of blue cheese dip and celery sticks for a classic buffalo wing experience.
Remember, the world of culinary art is boundless, and there is no limit to the number of variations you can explore. Let your taste buds be your guide and create your own extraordinary chicken drumstick masterpiece.
Overcooking and Undercooking – The Pitfalls to Avoid
Understanding the consequences of overcooking or undercooking your chicken drumsticks is essential for achieving optimal results. Here are some common pitfalls to avoid along with their effects:
-
Overcooking: Overcooked drumsticks can become dry, tough, and lack flavor. The proteins in the meat become denatured and squeeze out moisture, leaving you with a disappointing end product.
-
Undercooking: Consuming undercooked chicken poses a potential health risk due to the possible presence of harmful bacteria such as Salmonella. It also results in unappetizing textures and flavors.
To ensure you strike the perfect balance, use proper cooking times, check for doneness accurately, and practice good food safety habits throughout the cooking process.
In Conclusion – A Culinary Triumph Awaits
Congratulations! You have embarked on a culinary journey through the realm of oven-baked chicken drumsticks. Armed with the knowledge of food science, culinary techniques, selection, cleaning, preparation, tips, variations, and the art of checking for doneness, you are now ready to impress friends, family, and even yourself with a spectacular chicken dish.
Remember that the key to culinary success lies in experimentation, practice, and an unwavering passion for the art of cooking. So, put your newfound skills to the test, explore new flavor combinations, and let your creativity soar as you dive into the world of chicken drumsticks in the oven. Bon appétit!
Sources
FAQS On Chicken Drums Oven Recipe
What Temperature Should I Set My Oven To For Cooking Chicken Drumsticks?
Preheat your oven to 400 degrees Fahrenheit (204 degrees Celsius) for the perfect crispy skin and tender, juicy meat.
How Long Does It Take To Cook Chicken Drumsticks In The Oven?
Depending on the size of the drumsticks, it typically takes between 35-45 minutes to fully cook chicken drumsticks in the oven.
Do I Need To Marinate My Chicken Drumsticks Before Cooking Them In The Oven?
While marinating can add extra flavor and tenderize the meat, it’s not necessary for cooking chicken drumsticks in the oven. A simple seasoning of salt, pepper, and your favorite herbs and spices can be enough.
Should I Bake My Chicken Drumsticks Covered Or Uncovered?
For a crispy and browned exterior, it’s best to bake your chicken drumsticks uncovered. Covering the meat will result in a soggy skin and less flavorful meat.
Can I Use A Baking Sheet Or Do I Need A Roasting Pan For Cooking Chicken Drumsticks In The Oven?
While a roasting pan can help collect any drippings and prevent the chicken from sticking to the pan, a baking sheet is a suitable alternative for cooking chicken drumsticks in the oven. Just make sure to line the sheet with aluminum foil or parchment paper for easy cleanup.