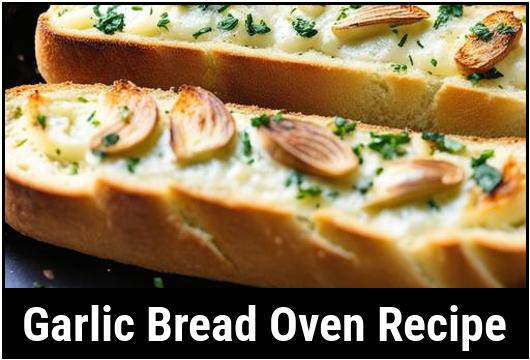
The Irresistible Garlic Bread Oven Recipe: Expert Tips And Mouthwatering Variations
Garlic bread is a cherished delicacy that brings comfort and satisfaction to countless homes around the world. The rich aroma of garlic and butter, combined with the crisp texture of perfectly toasted bread, creates a divine culinary experience. In this comprehensive article, we will delve into the secrets of mastering the garlic bread oven recipe. From the science behind its preparation to handy tips and a variety of tempting variations, you will become a garlic bread maestro in no time!
The Science of Garlic Bread
To truly appreciate the art of making garlic bread, it is important to understand the underlying food science. Garlic, known for its pungent flavor and aroma, contains sulfur compounds that develop when the cloves are crushed or minced. These compounds, such as allicin, are released upon mixing with the butter and are responsible for the distinct garlic taste.
When heated in the oven, the water content in the butter evaporates, leaving behind a concentrated mixture of fat, flavors, and aromas. This process creates a delightfully crispy texture while infusing the bread with the heavenly garlic and butter essence.
Selecting the Perfect Bread
Choosing the right bread is crucial for achieving garlic bread perfection. Ideally, a rustic Italian loaf or a French baguette works exceptionally well due to their sturdy structure and porous texture. The bread should be freshly baked, soft on the inside, and have a thin, crispy crust. Avoid using pre-sliced bread, as it tends to be too thin and may become overly crunchy during baking.
Cleaning and Preparation
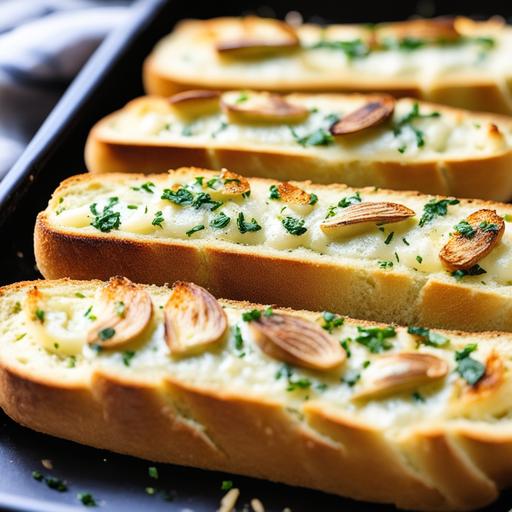
Before diving into the preparation process, ensure that your oven is in tip-top shape. A clean oven provides an optimal cooking environment, preventing any unpleasant odors or flavors from seeping into your golden garlic bread. Wipe down the inside with a gentle, non-abrasive cleaner, or follow your oven’s manufacturer instructions for a thorough cleaning.
To start with the preparation process, preheat your oven to 400°F (200°C). This temperature ensures even heat distribution and guarantees a beautifully crisp crust. While the oven preheats, you can begin assembling the ingredients and preparing the garlic butter mixture.
Tips for the Garlic Butter Mixture
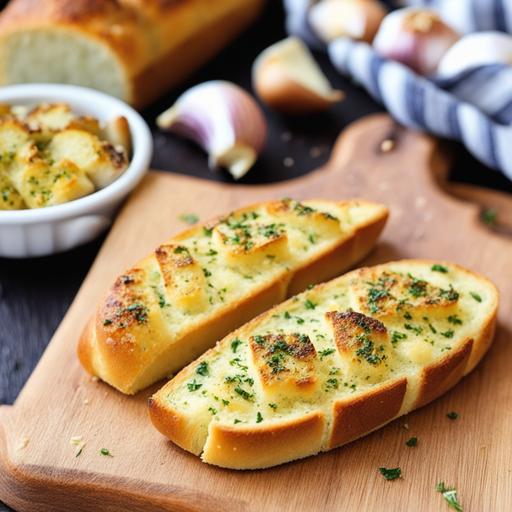
The butter used in garlic bread acts as a carrier for the garlic and other flavorings, infusing them into the bread during baking. Here are a few tips to create the perfect garlic butter mixture:
-
Optimal Butter Consistency: Use softened butter for easy mixing and even distribution of flavors. Set the butter out at room temperature for approximately 30 minutes prior to preparation.
-
Intensify the Flavors: Enhance the garlic butter mixture by adding finely chopped parsley or dried herbs like oregano, basil, or rosemary. This will add a delightful herbal touch to your garlic bread.
-
Experiment with Additional Ingredients: For a fiery kick, incorporate minced chili peppers or a pinch of paprika into the garlic butter mixture. Get creative with your flavor profile!
Assembling and Baking Garlic Bread
Now that you have the perfect garlic butter mixture prepared, it’s time to assemble and bake your garlic bread. Follow these steps for a guaranteed mouthwatering result:
-
Slice the Bread: Using a sharp serrated knife, make diagonal cuts approximately 1 inch apart. Ensure you don’t slice all the way through, as you want the bread to remain intact for easy serving.
-
Generously Spread the Garlic Butter: Take your garlic butter mixture and spread it between the slices, making sure to cover both sides of the bread. Allow the garlic butter to seep into the bread, ensuring every bite is packed with flavor.
-
Wrap in Aluminum Foil: To prevent the bread from drying out while baking, wrap it tightly in aluminum foil, leaving the top slightly exposed.
-
Time to Bake: Place the wrapped garlic bread in the preheated oven and bake for approximately 15-20 minutes, or until the bread is crisp and golden. The exact baking time may vary depending on the thickness of your bread, so keep an eye on it to avoid undercooking or overcooking.
Checking for Doneness
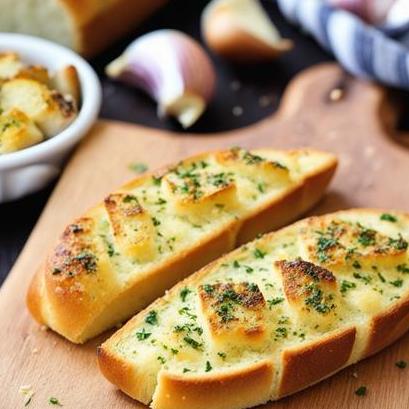
Determining when your garlic bread is perfectly done is essential for achieving the right texture and flavors. Here are a few checks to ensure it’s cooked to perfection:
-
Crispy, Golden Crust: Peek under the foil after 15 minutes of baking to check the color of the crust. A beautifully golden brown crust is a good indicator that your garlic bread is almost ready.
-
Crispness and Aroma: For the final check, carefully open the foil and give the bread a gentle press. It should feel crispy on the outside, while the inside remains soft and moist. The delightful aroma of garlic and butter will assure you of its readiness.
Overcooking and Undercooking
While we strive to achieve the perfect balance, sometimes mistakes happen. Overcooking and undercooking garlic bread can result in less-than-ideal flavor and texture. Let’s explore the potential outcomes and how to avoid them:
-
Overcooked Garlic Bread: Overcooking may lead to a dry and tough texture, with the garlic becoming bitter. To salvage the situation, brush the bread with melted butter immediately after removing it from the oven. This will add moisture and help alleviate some of the dryness.
-
Undercooked Garlic Bread: Undercooked garlic bread can be disappointing, with parts of the bread remaining doughy and unappetizing. If you realize your garlic bread is undercooked, don’t panic! Simply rewrap it in the foil and return it to the oven for a few additional minutes until thoroughly cooked.
Tempting Garlic Bread Variations
To truly elevate your garlic bread game, explore these exciting variations that add a unique twist to the classic recipe:
-
Cheesy Garlic Bread: Sprinkle grated Parmesan or mozzarella cheese over the garlic butter before baking. The cheese will melt and create a heavenly, gooey layer of goodness.
-
Herbed Garlic Bread: Create an herb-infused garlic butter mixture by adding finely chopped fresh herbs such as thyme, sage, or dill to amplify the flavors.
-
Spicy Garlic Bread: For spice enthusiasts, sprinkle red pepper flakes or add a drizzle of hot sauce to the garlic butter mixture. This variation will tantalize your taste buds with a fiery kick.
Conclusion
Congratulations, you have now mastered the art of crafting the perfect garlic bread using an oven! By understanding the food science behind garlic bread, selecting the ideal bread, and following our comprehensive tips and variations, you are well-equipped to create irresistible batches of garlic bread. Whether served as an appetizer, accompaniment, or a delicious snack, this culinary delight is sure to impress family and friends. So preheat that oven, gather your ingredients, and embark on an aromatic journey that will leave everyone craving more!
Sources
FAQS On Garlic Bread Oven Recipe
What Ingredients Do I Need For A Garlic Bread Oven Recipe?
To make garlic bread in the oven, you will need the following ingredients:
- 1 loaf of French bread or Italian bread
- 1/2 cup (1 stick) of unsalted butter, at room temperature
- 4 cloves of garlic, minced
- 1/4 cup of freshly chopped parsley
- 1/2 teaspoon of garlic powder (optional)
- Salt and pepper to taste
How Do I Prepare The Bread For The Garlic Butter Mixture?
Start by preheating your oven to 375°F (190°C). Slice the bread in half lengthwise, and place the two halves on a baking sheet with the cut sides facing up.
How Do I Make The Garlic Butter Mixture?
In a medium-sized bowl, combine the butter, minced garlic, chopped parsley, garlic powder (if using), salt, and pepper. Mix everything together until well combined and creamy.
How Do I Spread The Garlic Butter Mixture Onto The Bread?
Using a butter knife or small spatula, evenly spread the garlic butter mixture over the cut sides of the bread. Make sure to cover the entire surface.
How Do I Bake The Garlic Bread In The Oven?
Place the baking sheet with the prepared garlic bread into the preheated oven. Bake for about 10-15 minutes, or until the bread is toasted and golden brown. Keep an eye on it after the 10-minute mark to prevent burning. Once done, remove from the oven and let it cool slightly before cutting into slices and serving.


