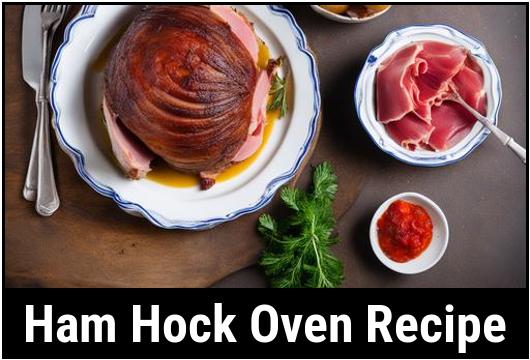
Ham Hock Oven Recipe: A Comprehensive Guide
In the world of culinary delights, few dishes can match the mouthwatering flavors and tender textures of a perfectly cooked ham hock. This humble cut, known for its rich and smoky taste, makes for a versatile ingredient that can elevate any meal. Whether you’re a seasoned chef or a novice in the kitchen, this comprehensive guide will walk you through the essential steps to prepare a delectable ham hock using your trusty oven. So roll up your sleeves, tie on your apron, and let’s embark on a flavorful journey!
Understanding the Food Science
To truly master the art of cooking a ham hock, it’s essential to understand the food science behind it. Ham hocks are derived from the lower portion of a pig’s leg and consist of bone, collagen, and connective tissue. These elements contribute to the unique texture and taste of the dish.
During the cooking process, collagen in the ham hock starts to break down, resulting in tender meat that falls off the bone. Furthermore, the slow and gentle cooking in the oven allows the flavors from the bone marrow to infuse into the meat, creating a rich and irresistible taste.
Culinary Details and Selection
When it comes to selecting a ham hock, quality is paramount. Look for a hock with a generous amount of meat on it, as this will ensure a more substantial final dish. Additionally, opt for a hock that has a light pink color and a firm texture. Avoid hocks that appear overly dark or have an unpleasant odor.
Cleaning and Preparation
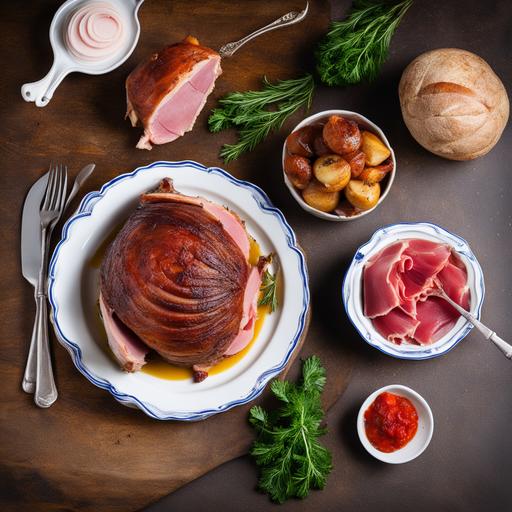
Before diving into the preparation process, it’s essential to give your ham hock a good rinse under cold water. This step removes any excess salt or curing agents that may be present. Additionally, it’s recommended to soak the ham hock in cold water for several hours or even overnight, especially if it has been heavily salted. This process will help reduce the saltiness and promote a more balanced flavor.
Tips for Cooking Success
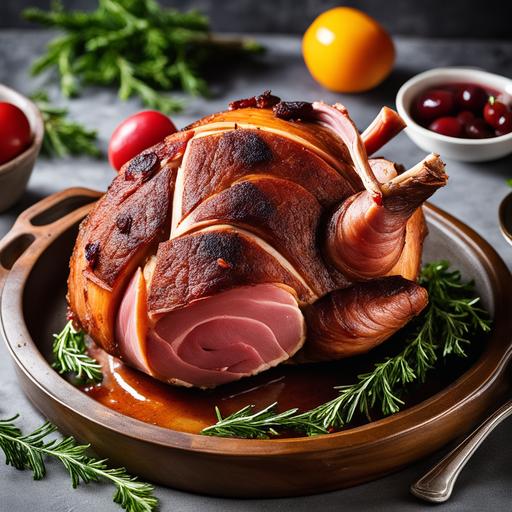
Cooking a ham hock to perfection requires attention to detail and a few helpful tips. Here are some guidelines to ensure your ham hock turns out splendidly:
1. Preheating the Oven: Always preheat your oven to the desired temperature before placing the ham hock inside. This ensures even cooking throughout and helps seal in the flavors.
2. Proper Seasoning: While ham hocks are naturally flavorful, a touch of additional seasoning can take the dish to the next level. Consider using spices like black pepper, cloves, bay leaves, or a homemade rub to enhance the taste. However, be mindful of the salt content, as the hock itself is often already salty.
3. Low and Slow: Cooking a ham hock requires patience. Achieve the best results by using a low-temperature setting in the oven and allowing the flavors to develop gradually. This slow cooking method will result in tender, succulent meat that melts in your mouth.
4. Moisture Retention: To prevent the ham hock from drying out during the cooking process, it’s important to keep it moist. This can be achieved by covering the hock with a tight-fitting lid or wrapping it securely in aluminum foil. Basting the hock with its own juices or a flavorful marinade will also contribute to maintaining moisture levels.
5. Flavorful Additions: For an extra layer of taste, consider adding aromatic vegetables such as onions, carrots, or celery to the cooking liquid. These vegetables will infuse the ham hock with their flavors, resulting in a more complex and satisfying dish.
Checking for Doneness
Determining the doneness of your ham hock is crucial to achieving the desired texture and ensuring food safety. There are a few methods to check if the ham hock is adequately cooked:
1. Visual Cues: One reliable way to check doneness is by visually inspecting the hock. The meat should appear tender and moist, with a slight pull away from the bone. The juices should run clear, indicating that it’s thoroughly cooked.
2. Internal Temperature: Another effective method is to use a meat thermometer to measure the internal temperature of the ham hock. The ideal temperature should reach 145°F (63°C) to ensure both tenderness and safety.
3. Fork Test: A classic technique for checking doneness is to insert a fork or knife into the meat. If it effortlessly penetrates the ham hock, sliding out without any resistance, then it’s a sign that it’s cooked to perfection.
Remember that the hock will continue to cook slightly after being removed from the oven due to residual heat. Therefore, it’s advisable to remove the ham hock from the oven just before it reaches the desired level of doneness to avoid overcooking.
Recipe for Success
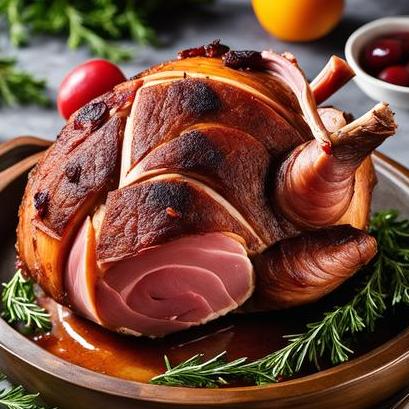
Now that you’ve grasped the essential culinary principles and techniques, it’s time to unveil a tantalizing ham hock oven recipe. This recipe will serve as a foundation to unleash your creativity and make it your own.
Ingredients:
-
1 ham hock (approximately 2-3 pounds)
-
1 onion, roughly chopped
-
2 carrots, sliced
-
2 celery stalks, chopped
-
2 garlic cloves, minced
-
2 bay leaves
-
1 teaspoon black peppercorns
-
1 teaspoon whole cloves
-
2 cups chicken or vegetable broth
-
Additional herbs or spices (optional)
Instructions:
-
Preheat the oven to 325°F (163°C).
-
Rinse the ham hock under cold water and pat dry with paper towels.
-
Place the ham hock in a large oven-safe pot or Dutch oven.
-
Surround the ham hock with the chopped onion, sliced carrots, celery, minced garlic, bay leaves, black peppercorns, and whole cloves.
-
Pour the chicken or vegetable broth over the ham hock and vegetables until they are partially submerged.
-
If desired, sprinkle additional herbs or spices over the ham hock for added flavor.
-
Cover the pot with a lid or tightly wrap it in aluminum foil to retain moisture.
-
Place the pot in the preheated oven and allow the ham hock to cook for approximately 3-4 hours, or until it reaches an internal temperature of 145°F (63°C).
-
Check the ham hock periodically and baste it with the cooking liquid to keep it moist.
-
Once cooked to your desired level of tenderness, remove the ham hock from the oven and let it rest for a few minutes before serving.
-
Serve the ham hock with the flavorful vegetables and a ladle of the cooking liquid as a deliciously comforting meal.
Variations and Customizations
While the above recipe is sure to delight your taste buds, it’s important to note that there are countless ways to customize your ham hock oven experience. Here are a few variations to inspire your culinary creativity:
-
Glazed Goodness: For a sweet and sticky twist, consider glazing the ham hock with a mixture of honey, brown sugar, and Dijon mustard during the last 30 minutes of cooking. This will create a caramelized crust that’s truly irresistible.
-
Smoky Sensations: If you crave a smokier flavor, adding a small amount of liquid smoke to the cooking liquid can impart that characteristic smokiness, reminiscent of slow-cooked barbecue.
-
Herbal Infusion: Experiment with different herbs and spices to create unique flavor profiles. Rosemary, thyme, or sage can add delightful aromatic notes, while paprika or chili powder can introduce a hint of heat.
-
Side Dish Magic: Pair your ham hock with an array of delicious side dishes to complete the meal. Creamy mashed potatoes, buttered vegetables, or traditional black-eyed peas harmonize exceptionally well with this savory dish.
Overcooking and Undercooking
As with any cooking endeavor, there is always a chance of either overcooking or undercooking your ham hock. Thankfully, with proper temperature monitoring and periodic checks, you can avoid these pitfalls.
Overcooking: Overcooking a ham hock can result in dry, fibrous meat that lacks tenderness. To prevent this, closely monitor the cooking process, and ensure that you remove the ham hock from the oven just before it reaches the desired level of doneness. The meat will continue to cook slightly due to residual heat, so erring on the side of caution is advisable.
Undercooking: Undercooking a ham hock poses a different set of challenges. Raw or undercooked pork may contain harmful bacteria that can lead to foodborne illness. It’s crucial to reach an internal temperature of 145°F (63°C) to ensure both the safety and tenderness of the meat. Utilizing a meat thermometer is an effective way to guarantee proper cooking.
Final Thoughts
Congratulations! You’ve embarked on a flavorful journey exploring the world of ham hock oven recipes. By understanding the food science, culinary details, selection, cleaning, preparation, and following the provided tips and instructions, you’re well on your way to creating a delectable ham hock that will delight family and friends alike. Remember to embrace your creativity, experiment with different flavors and techniques, and, most importantly, enjoy the process of cooking. So tie on that apron, open the oven door, and prepare to savor the extraordinary flavors of a beautifully cooked ham hock!
Sources
FAQS On Ham Hock Oven Recipe
What Is A Ham Hock?
A ham hock is the lower part of a pig’s leg, also known as the pork knuckle. It is a flavorful and often overlooked cut of meat.
How Do I Prepare A Ham Hock For The Oven?
To prepare a ham hock for the oven, rinse it under cold water and pat it dry with paper towels. You can also soak it in cold water for a few hours to remove any excess salt. Then, score the skin with a sharp knife and season the meat with your choice of herbs and spices.
What Are Some Popular Oven Recipes For Ham Hock?
Popular oven recipes for ham hock include roasting or braising. You can roast the ham hock with vegetables and herbs for a crispy outside and tender inside. Alternatively, you can braise the ham hock in a flavorful liquid, such as beer or broth, for a moist and succulent result.
How Long Should I Cook A Ham Hock In The Oven?
The cooking time for a ham hock in the oven will depend on the size and cut of the meat. Generally, a ham hock will take about 2-3 hours to roast at 350°F, or 3-4 hours to braise at the same temperature. It is important to use a meat thermometer to ensure that the internal temperature reaches at least 145°F.
What Are Some Serving Suggestions For Ham Hock From The Oven?
Once the ham hock is cooked, you can serve it with a variety of side dishes such as mashed potatoes, sautéed greens, or roasted root vegetables. You can also shred the meat and use it in soups, stews, or sandwiches for a flavorful addition.


