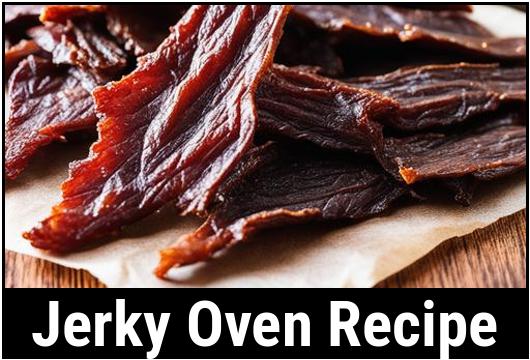
Jerky Oven Recipe: The Ultimate Guide To Mouthwatering And Flavorful Homemade Jerky
Are you craving a delicious, protein-packed snack that is perfect for on-the-go munching? Look no further than homemade jerky! This delightful treat is not only mouthwatering but also incredibly versatile, allowing you to experiment with a variety of flavors and spices tailored to your liking. In this comprehensive guide, we will take you on an informative journey through the world of jerky and explore all the aspects necessary to create the perfect jerky using your trusty oven.
The Science Behind Jerky Making
Before jumping into culinary details, let’s dive into the fascinating food science behind jerky. Jerky is made by drying thin strips of meat, usually lean cuts, to remove moisture and create a preserved and flavorful snack. By eliminating moisture, the growth of bacteria is inhibited, ensuring the jerky remains safe to consume for extended periods.
The key to achieving mouthwatering jerky lies in two primary factors:
Meat Selection
Not all cuts of meat are ideal for making jerky. For the best results, opt for lean meats, such as beef round, top sirloin, or eye of round. Other options include turkey breast, pork loin, or even venison for the adventurous jerky aficionados.
Remember to trim off any visible fat as it can lead to spoilage during the drying process and negatively impact the texture and taste of your final product.
Marinades and Seasonings
The marinade you choose will infuse your jerky with extraordinary flavors. A perfect marinade balances saltiness, sweetness, acidity, and complexity. You can experiment with a variety of combinations, including soy sauce, Worcestershire sauce, honey, garlic, ginger, and various spices depending on your personal preferences.
Pro tip: Combine ingredients in a shallow dish or a resealable plastic bag to ensure each strip of meat is thoroughly covered. Allow the meat to marinate in the refrigerator for at least 4 hours or overnight for maximum flavor infusion.
Culinary Details: Preparation and Cleaning
Before embarking on your jerky-making adventure, make sure to follow these essential culinary steps for both food safety and optimal flavor development.
Cleaning and Hygiene
Maintaining a clean cooking environment is paramount to prevent cross-contamination and foodborne illnesses. Here are a few tips to ensure proper cleanliness:
-
Start by washing your hands thoroughly with warm, soapy water before handling any ingredients.
-
Clean all utensils and equipment with hot, soapy water or use a dishwasher, if applicable.
-
Sanitize your cutting board with a mixture of water and bleach or by using cutting board sanitizing products available on the market.
Meat Preparation
Once cleaned, it’s time to prepare the meat for your jerky masterpiece. Follow these steps for optimal results:
-
Carefully slice the selected cut of meat across the grain into thin strips, roughly 1/8 to 1/4 inch thick. Thinner strips will dry faster and have a chewier texture, while thicker ones yield a juicier jerky.
-
For uniformity, consider using a meat slicer or partially freezing the meat before slicing.
-
Pat dry each strip of meat with paper towels to remove any excess moisture before marinating. This step ensures the marinade adheres better to the meat.
Tips and Tricks for the Perfect Jerky Texture
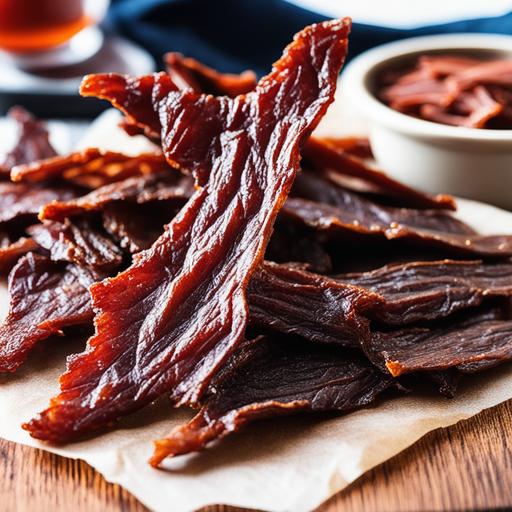
Creating the ideal jerky texture can be a challenge, but with these tips and tricks, you’ll have a better chance at achieving jerky perfection:
Dehydration Considerations
In order to remove moisture effectively from your jerky, the oven temperature and airflow play crucial roles. Consider the following:
-
Preheat your oven to a low temperature range between 160°F and 175°F (70°C to 80°C). Any higher could risk cooking the meat rather than drying it.
-
Place the marinated meat strips directly on the oven racks or use wire cooling racks for better air circulation.
Oven Door Ajar Technique
Achieving adequate airflow within the oven is essential for successful jerky making. By propping the oven door slightly ajar, you can facilitate air circulation and maintain a consistent temperature. An oven-safe thermometer will help you monitor and adjust the temperature as needed throughout the drying process.
Pro tip: Use a wooden spoon or a heat-resistant object to keep the oven door slightly open, ensuring it doesn’t close completely.
Rotation and Airflow
To ensure even drying, rotate the oven trays halfway through the cooking time. This helps to prevent overcooking or undercooking specific portions of jerky, ensuring an evenly dried and flavorful end product.
Pro tip: Consider placing an additional fan near the oven to increase airflow and speed up the dehydration process.
Doneness Checks: Determining Jerky Perfection
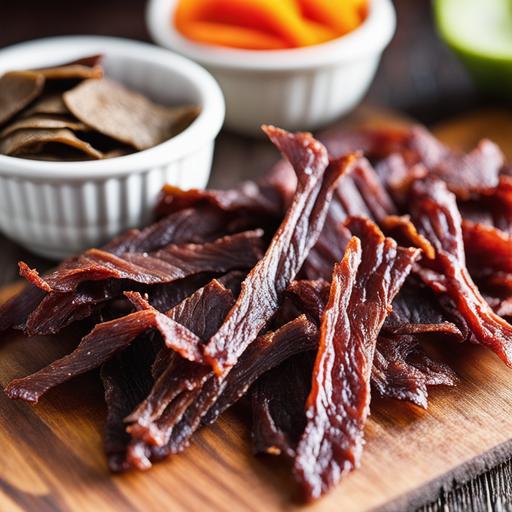
Determining the optimal drying time for your jerky can be challenging, but a few indicators can help:
-
Visual Inspection: Check the color of the jerky strips. Properly dried jerky should be dark and slightly translucent, with little to no moisture in the center.
-
Bend Test: Gently bend a cooled jerky strip. If it bends and cracks but doesn’t break, it’s likely ready. If it snaps easily, it may have been overcooked.
-
Moisture Content: If you have a food dehydrator or an oven with a dehydrator mode, you can use a moisture meter to measure the moisture content of your jerky. Aim for a moisture level below 20% for long shelf life.
A Classic Jerky Recipe to Get You Started
Now that you have a solid foundation of jerky-making knowledge, let’s explore a classic recipe to get you started on your jerky-making journey.
Classic Beef Jerky Recipe
Ingredients:
-
2 pounds of lean beef, such as round or top sirloin, thinly sliced
-
1/2 cup soy sauce
-
1/4 cup Worcestershire sauce
-
2 tablespoons honey
-
2 teaspoons garlic powder
-
1 teaspoon onion powder
-
1 teaspoon black pepper
-
Optional: 1/2 teaspoon cayenne pepper for a spicy kick
Instructions:
-
In a shallow dish or resealable plastic bag, combine soy sauce, Worcestershire sauce, honey, garlic powder, onion powder, black pepper, and cayenne pepper (if desired).
-
Add the beef slices to the marinade, ensuring each strip is well coated. Marinate in the refrigerator for at least 4 hours or overnight for best results.
-
Preheat your oven to 160°F (70°C) and prepare your oven racks or wire cooling racks for the meat strips.
-
Remove the marinated beef from the refrigerator, allowing it to come to room temperature before placing the strips on the oven racks in a single layer.
-
Insert a wooden spoon or a heat-resistant object in the oven door to keep it slightly ajar, ensuring proper airflow.
-
Bake in the oven for approximately 4 to 6 hours, rotating racks halfway through the cooking time. Keep a close eye on the jerky in the last hour to prevent overcooking.
-
Perform the doneness checks mentioned earlier to determine if your jerky has reached the desired texture.
-
Once cool, store your beef jerky in airtight containers or resealable bags for maximum freshness.
Variations and Flavor Enhancements
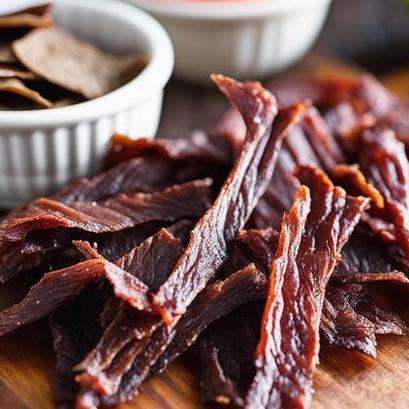
While the classic beef jerky recipe is undeniably delicious, it’s always fun to experiment with different flavors and variations. Here are a few ideas to inspire your creativity:
Teriyaki Twist
-
Replace soy sauce with teriyaki sauce.
-
Add a touch of pineapple juice and grated ginger for an exotic twist.
Smoky and Sweet
-
Add a couple of tablespoons of liquid smoke to your marinade.
-
Enhance the sweetness with a touch of brown sugar or maple syrup.
Spicy Chipotle
-
Mix chipotle chili powder with the marinade for a smoky, spicy kick.
-
Consider adding a splash of lime juice to brighten the flavors.
Feel free to play around with ratios and seasonings until you find your ultimate favorite flavor profile.
Avoiding Undercooked and Overcooked Jerky
As with any cooking endeavor, there’s always a chance of undercooking or overcooking your precious jerky. Ensure you follow these guidelines to avoid these unfortunate outcomes:
Undercooking Prevention
-
Maintain a consistent and appropriate oven temperature during the drying process.
-
Perform the bend test mentioned earlier to check for flexibility. If the jerky still feels soft and pliable, it requires more drying time.
-
Be patient! Give your jerky ample drying time to achieve that perfect texture.
Overcooking Prevention
-
Keep a close eye on your jerky, especially during the last hour of cooking. While dehydration is essential, overcooking can result in an unpleasant flavor and overly dry texture.
-
Test your jerky for the desired moisture content, using a moisture meter if available.
Conclusion
Congratulations, you are now armed with the knowledge and confidence to venture into the world of homemade jerky using your reliable oven. By selecting the right meat, marinating to perfection, and employing the tips and techniques shared here, you’ll soon be savoring your very own mouthwatering, protein-packed snacks.
Remember, jerky making requires a fair amount of experimentation, so don’t be afraid to unleash your culinary creativity. Whether you prefer the classic beef version or venture into exotic flavor combinations, the possibilities are endless.
So, gather your ingredients, prepare your marinade, and let your oven transform simple meat strips into delectable jerky that will impress family and friends alike. Enjoy the journey and bon appétit!
Sources
FAQS On Jerky Oven Recipe
What Ingredients Do I Need For Making Jerky In The Oven?
To make jerky in the oven, you will need 1-2 pounds of lean meat (such as beef, venison, or turkey), soy sauce, Worcestershire sauce, liquid smoke, brown sugar, black pepper, garlic powder, and onion powder.
How Thick Should I Slice The Meat For Jerky?
It is recommended to slice the meat into thin, even strips, approximately 1/4 inch thick. This ensures that the meat cooks evenly and results in a tender, chewy jerky texture.
Can I Marinate The Meat For Jerky In The Oven?
Yes, marinating the meat is an important step in making jerky. It helps to infuse the meat with flavor and tenderize it. You can marinate the meat for as little as 2 hours or up to 24 hours in the refrigerator before placing it in the oven.
How Long Does It Take To Cook Jerky In The Oven?
The cooking time for jerky in the oven can vary depending on the thickness of the meat and the oven temperature. Generally, it takes 4-6 hours at a low temperature (around 170°F) to fully dehydrate and cook the jerky. It is important to periodically check the jerky for doneness as it cooks.
How Should I Store Homemade Jerky?
Once the jerky is cooked and cooled, it should be stored in an airtight container or resealable plastic bag at room temperature for up to 2 weeks. For longer storage, you can refrigerate the jerky for up to 3 months or freeze it for up to 6 months. Remember to label the jerky with the date it was made and consume it within the recommended time frame.


