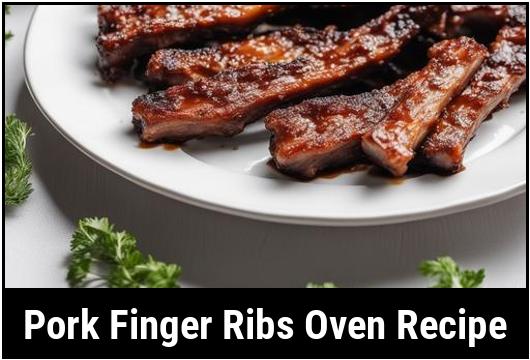
Pork Finger Ribs Oven Recipe: A Finger-Licking Delight
Are you on the lookout for a mouthwatering, juicy, and tender rib recipe that will leave your taste buds tingling with delight? Look no further! In this comprehensive guide, we will explore everything you need to know about preparing perfect pork finger ribs in the oven. From selecting the best quality meat to mastering the art of cooking these succulent ribs, we’ve got you covered. So let’s dive in!
Understanding the Food Science Behind Pork Finger Ribs
Before we delve into the cooking process, it’s essential to understand the food science behind pork finger ribs. Pork finger ribs, often referred to as button ribs, are smaller in size compared to traditional pork ribs. They are cut from the lower end of the baby back ribs, closer to the pork belly.
These ribs boast a higher fat content, which contributes to their incredible tenderness and flavor. The natural marbling and connective tissue within the meat break down during the slow cooking process, resulting in beautifully tender and succulent ribs.
Selecting and Cleaning Pork Finger Ribs
When it comes to selecting the freshest and highest quality pork finger ribs, a bit of expertise goes a long way. Look for ribs with a healthy pink color and ample marbling, as it ensures a tender and flavorful outcome. Avoid ribs with a dull or grayish appearance or any unpleasant odor.
When you bring the ribs home, give them a thorough rinse under cold water to remove any bone fragments or debris. Pat them dry with paper towels, and you’re ready to move on to the next step.
Preparation: A Crucial Step for Flavorsome Ribs
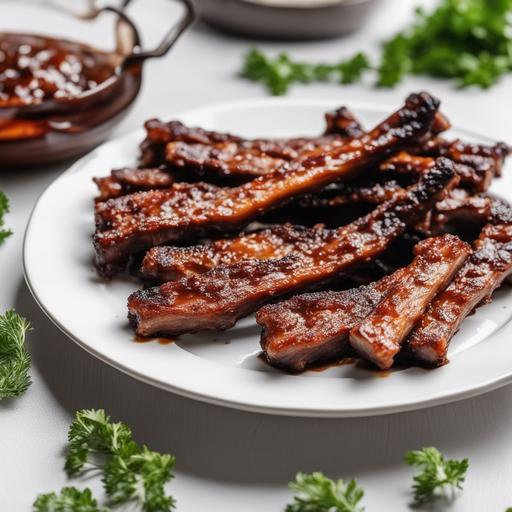
Properly preparing your pork finger ribs in advance can significantly enhance their taste and tenderness. Consider the following steps to kickstart your culinary journey:
1. Removing the Membrane
Before seasoning the ribs, it is important to remove the tough membrane on the bone side. Use a blunt knife or your fingers to loosen a corner of the membrane, then grasp it firmly and pull it off in one swift motion. Removing the membrane allows the flavors to penetrate the meat and prevents the ribs from turning chewy.
2. Dry Rub or Marinade?
Choosing between a dry rub and marinade is a matter of personal preference. Both methods yield delicious results, but let’s focus on the dry rub technique for this recipe. A dry rub consists of a blend of spices, herbs, and seasonings that forms a flavor-packed crust on the ribs as they cook.
Prepare your dry rub by combining ingredients like paprika, garlic powder, onion powder, brown sugar, salt, black pepper, and any other desired spices. Rub this mixture generously over the entire surface of the ribs, ensuring an even distribution.
For best results, cover the seasoned ribs with plastic wrap and let them sit in the refrigerator for at least two hours, or overnight, to allow the flavors to infuse and tenderize the meat.
Tips for Cooking Pork Finger Ribs to Perfection
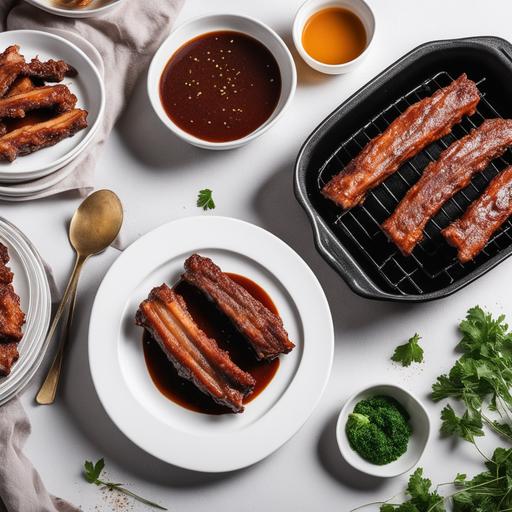
Cooking pork finger ribs to perfection is an art that requires patience, attention to detail, and precise timing. Here are some valuable tips to help you achieve finger-licking results:
1. Preheating the Oven
Ensure your oven is preheated to the appropriate temperature before placing the ribs inside. Preheating enhances even cooking and locks in the flavors.
2. Slow and Low: Embrace the Gentle Heat
For tender, fall-off-the-bone ribs, a slow and low cooking method is crucial. Set your oven to a low temperature—around 275°F (135°C)—and allow the ribs to cook slowly over an extended period. This gradual cooking process allows the fat and connective tissues to render, resulting in a moist and tender texture.
3. The Magic of Moisture: Using Foil or a Drip Pan
To enhance the tenderness of the ribs, create a moist cooking environment. You can achieve this by wrapping the seasoned ribs tightly in aluminum foil or placing them on a raised wire rack with a drip pan filled with water underneath. The steam generated during cooking helps keep the ribs moist.
4. Basting: A Flavorful Boost
During the cooking process, consider basting the ribs with your favorite barbecue sauce or a homemade glaze to enhance their flavor. Apply the sauce during the last 45 minutes of cook time, brushing it on every 15 minutes for a delectably sticky and caramelized coating.
Checking Doneness: How to Know When Your Ribs Are Perfectly Cooked
Determining the ideal doneness of your pork finger ribs is essential to achieve a melt-in-your-mouth texture. Here are a few methods to help you check when your ribs are cooked to perfection:
1. Bend Test
The bend test is a classic technique used by pitmasters worldwide. Lift the ribs from one end using tongs and observe how they flex. If they bend easily and the meat slightly tears or splits, your ribs are most likely tender and ready to be devoured.
2. Toothpick or Probe Test
Another reliable method involves using a toothpick or a meat probe. Gently insert the toothpick or probe into the meat between the bones. If it slides in effortlessly and meets little resistance, your ribs are perfectly cooked.
3. Meat Pulling Test
For ribs that are incredibly tender and almost fall off the bone, try the meat pulling test. Gently grasp a bone between tongs and give it a slight twist. If the meat pulls away smoothly, it’s a clear indication that your ribs have reached the desired tenderness.
Recipe: Oven-Baked Pork Finger Ribs
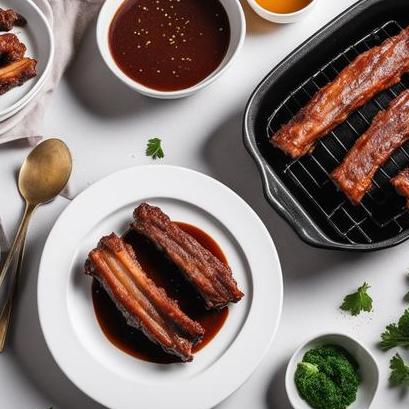
Now that you are equipped with the knowledge and techniques, here’s a delightful recipe to put everything into practice:
Ingredients:
-
2 racks of pork finger ribs
-
Your choice of dry rub (paprika, garlic powder, onion powder, brown sugar, salt, black pepper, etc.)
-
Barbecue sauce or glaze of your choice
Instructions:
-
Preheat your oven to 275°F (135°C).
-
In advance, remove the membrane from the bone side of the ribs and apply the dry rub mixture generously. Let the seasoned ribs rest in the refrigerator for at least two hours, or overnight.
-
Prepare a large sheet of aluminum foil and wrap each rack of ribs individually. Ensure a tight seal to keep the moisture trapped.
-
Place the foil-wrapped ribs on a baking sheet or wire rack and insert a drip pan with water on the lower shelf of the oven.
-
Slowly cook the ribs in the preheated oven for approximately 2.5 to 3 hours.
-
Once the initial cooking time is complete, carefully unwrap the ribs and coat them with your preferred barbecue sauce or glaze.
-
Return the ribs to the oven, uncovered, for an additional 45 minutes, basting with sauce every 15 minutes.
-
Remove the ribs from the oven and let them rest for a few minutes before slicing between the bones.
-
Serve your succulent pork finger ribs with additional sauce on the side and enjoy!
Avoiding Common Pitfalls: Overcooked and Undercooked Ribs
While cooking pork finger ribs, there are two common pitfalls to avoid: overcooking and undercooking. Overcooked ribs can become dry and tough, while undercooked ribs may lack that tender, fall-off-the-bone texture.
To prevent overcooking, monitor your ribs closely during the final stages of cooking. Be mindful of the internal temperature and ensure the meat does not dry out. If you notice the ribs becoming too dark or excessively browned, cover them loosely with foil to prevent further browning.
To avoid undercooked ribs, use the doneness tests mentioned earlier. Always check the tenderness and easily twist the bones before declaring the ribs ready.
Variations to Explore: Customizing Your Rib Experience
While the recipe provided is a delicious starting point, feel free to explore various flavor profiles and techniques to create your own unique spin on pork finger ribs. Here are a few variations to get your creative juices flowing:
1. Spicy Kick
Add some heat by incorporating cayenne pepper or red pepper flakes into your dry rub. Alternatively, experiment with a spicy barbecue sauce or consider brushing the ribs with a homemade chili glaze during the final basting.
2. Asian-Inspired
Infuse your ribs with a touch of Asian flair by replacing traditional spices with ginger, soy sauce, hoisin sauce, and a hint of sesame oil. Consider serving the ribs alongside a refreshing cucumber and sesame salad for an authentic Asian-inspired feast.
3. Honey-Glazed
For a sweet and sticky twist, substitute some of the brown sugar in your dry rub with honey. The caramelization process will create a glossy, heavenly crust. Drizzle extra honey on the ribs during the basting stage for an added touch of sweetness.
In Conclusion
Cooking pork finger ribs in the oven is a rewarding and flavorful culinary experience. By understanding the food science behind these ribs, properly selecting and preparing the meat, and incorporating the tips and techniques shared, you’ll be well on your way to achieving tender, succulent, and finger-licking ribs each time.
Remember to experiment with flavors, find what works best for you, and make this recipe your own. Whether you prefer a spicy kick, an Asian-inspired twist, or a honey-glazed delight, these ribs are sure to become a favorite dish that will leave your family and friends asking for seconds. Enjoy this fantastic culinary adventure and let your taste buds rejoice!
Sources
FAQS On Pork Finger Ribs Oven Recipe
What Are Pork Finger Ribs?
Pork finger ribs, also known as pork spare ribs or baby back ribs, are a popular cut of pork that come from the ribcage area. They are smaller in size compared to other rib cuts and are characterized by their tender meat and rich flavor.
Can I Cook Pork Finger Ribs In The Oven?
Yes, cooking pork finger ribs in the oven is a great way to achieve succulent and flavorful ribs. Oven cooking allows you to slowly cook the ribs at a controlled temperature, resulting in tender meat that easily falls off the bone.
How Do I Prepare Pork Finger Ribs For Oven Cooking?
To prepare pork finger ribs for oven cooking, start by removing the membrane from the back of the ribs. This can be done by gently loosening the membrane with a knife and then pulling it off. Next, season the ribs with your choice of dry rub or marinade. Allow the ribs to marinate for at least 1 hour, or overnight for more flavorful results.
What Is The Recommended Oven Temperature And Cooking Time For Pork Finger Ribs?
Preheat your oven to 275°F (135°C) for slow and low cooking. Place the seasoned ribs on a baking sheet or in a roasting pan, and cover them tightly with aluminum foil. Cook the ribs in the preheated oven for approximately 2.5 to 3 hours, or until the meat is tender and has reached an internal temperature of 190°F (88°C).
Can I Glaze The Pork Finger Ribs While They Are Cooking In The Oven?
Yes, you can glaze the ribs during the final stages of cooking to add extra flavor and a sticky coating. Around 20-30 minutes before the cooking time is complete, remove the foil from the ribs and brush them with your preferred barbecue sauce or glaze. Return the ribs to the oven, uncovered, and allow them to finish cooking while the glaze caramelizes slightly. Keep an eye on them to prevent burning.


