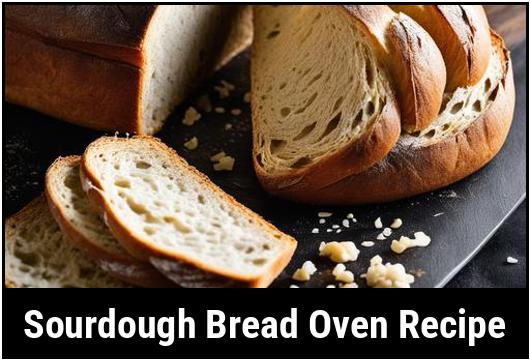
The Science And Art Of Sourdough Bread: A Comprehensive Guide To Baking The Perfect Loaf
Sourdough bread is a culinary delight, loved by many for its tangy flavor, chewy texture, and crusty exterior. Baking this artisanal bread at home might seem like an intimidating task, but with the right knowledge and techniques, you can create a delicious loaf that rivals any bakery’s offering. In this comprehensive guide, we will dive deep into the world of sourdough bread, exploring the food science behind it, providing culinary details, offering tips and variations, and even sharing a detailed oven recipe. So, roll up your sleeves, grab your apron, and let’s embark on this sourdough journey together!
Food Science of Sourdough Bread
Sourdough bread is unique because it is leavened with a naturally cultivated wild yeast and bacteria mixture, usually referred to as "sourdough starter" or "levain." The magical alchemy of sourdough begins with the fermentation process, where the wild yeasts convert the sugars in the dough into carbon dioxide gas. This gas is trapped within the gluten network, creating the desired rise and airy crumb in the bread.
The bacteria in the sourdough starter, commonly lactobacilli, contribute to the development of the bread’s distinct tangy flavor. Apart from flavor, these bacteria also aid in the breakdown of complex starches and proteins, making the resulting bread more digestible.
Selecting the Perfect Ingredients
To create a remarkable sourdough bread, it’s crucial to start with high-quality ingredients. Here’s what you’ll need:
1. Flour
Choosing the right flour is essential for achieving the ideal structure and flavor. Opt for high-protein flours like bread flour or a combination of bread flour and whole wheat flour. These flours provide the necessary gluten strength for a well-structured loaf.
2. Water
The quality of water affects the flavor of your bread. Ideally, use filtered or bottled water without chlorine or other strong chemicals. Chlorine can inhibit the growth of wild yeast, disrupting fermentation.
3. Salt
Salt not only enhances the flavor of your bread but also helps control fermentation. Fine sea salt or kosher salt work well in sourdough bread recipes.
4. Sourdough Starter
An active and mature sourdough starter is the backbone of sourdough bread. You can either create your own starter or obtain one from a friend or a reliable source. Maintaining a healthy and vigorous starter requires regular feeding and temperature control.
Cleaning and Preparing Your Oven
Before delving into the sourdough bread baking process, it is crucial to ensure your oven is clean and ready to use. Follow these simple steps for a well-maintained baking environment:
1. Remove Oven Racks
Take out all the oven racks and set them aside. This step allows for easy cleaning and maneuvering of the sourdough bread during the baking process.
2. Wipe Down the Interior
Using a damp cloth or sponge, thoroughly wipe down the interior of the oven to remove any debris or residue. Be sure to clean the sides, back, and bottom of the oven carefully.
3. Self-Cleaning Mode (Optional)
If your oven has a self-cleaning mode, you can activate it to eliminate any stubborn stains or grease. Follow the manufacturer’s instructions for the self-cleaning process and allow the oven to cool completely before proceeding.
4. Clean Oven Racks
After cleaning the oven, focus on the racks. Scrub them with warm, soapy water and a brush or sponge. Rinse and dry them before placing them back into the oven.
Tips and Techniques for Successful Sourdough Baking
Baking the perfect sourdough bread requires patience, practice, and attention to detail. Here are some valuable tips and techniques that can help you achieve the best results:
1. Temperature Control
Maintaining an optimal temperature throughout the sourdough bread-making process is crucial. Keep your starter at a consistent temperature, usually between 70-80°F (21-27°C), to encourage healthy fermentation. Similarly, monitor the dough’s temperature during proofing to prevent over or underproofing.
2. Autolyse Method
Consider incorporating the autolyse method into your sourdough bread-making routine. This technique involves mixing the flour and water before adding the sourdough starter. Autolysis allows the flour to hydrate fully, leading to improved dough structure and gluten development.
3. Stretch and Fold Technique
During bulk fermentation, regularly perform the stretch and fold technique to strengthen the gluten network. Gently stretch the dough and fold it onto itself from all four sides. Repeat this process every 30 minutes for the first few hours of fermentation.
4. Scoring the Dough
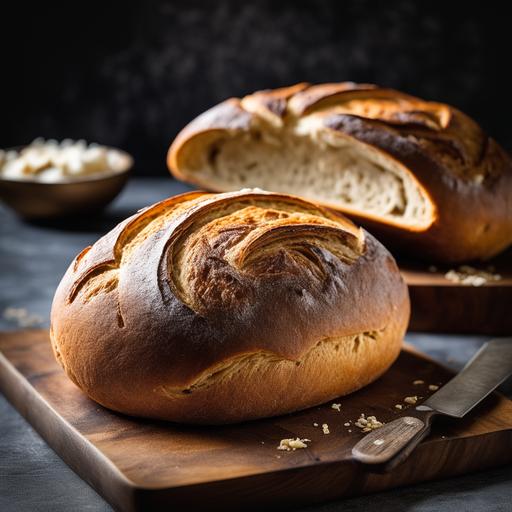
Before baking, carefully score the surface of the dough with a sharp blade or a bread lame. This step helps control the expansion of the dough during baking, creating beautiful patterns and a controlled rise.
5. Steam Generation
To achieve a beautifully crackling crust, generate steam in your oven during the initial stages of baking. You can do this by placing a cast-iron pan filled with water at the bottom of the oven or using a spray bottle to mist water onto the dough.
Variations and Flavor Enhancements
Sourdough bread is versatile and can be customized to suit different preferences. Here are a few variations and flavor enhancements you can experiment with:
1. Whole Grain Sourdough
Substitute a portion of bread flour with whole grain flours like rye, spelt, or einkorn for a more wholesome and nutty flavor.
2. Seeded Sourdough
Add texture and crunch by incorporating toasted sunflower seeds, sesame seeds, or flaxseeds into the dough during the mixing process.
3. Herbed Sourdough
Infuse your bread with fragrant herbs like rosemary, thyme, or basil. Finely chop the herbs and incorporate them into the dough during the initial mixing stage.
4. Cheese and Onion Sourdough
For a savory twist, mix grated cheese and caramelized onions into the dough during the final stretch and fold stage. This will result in irresistible pockets of gooey cheese and sweet onions.
Checking for Doneness
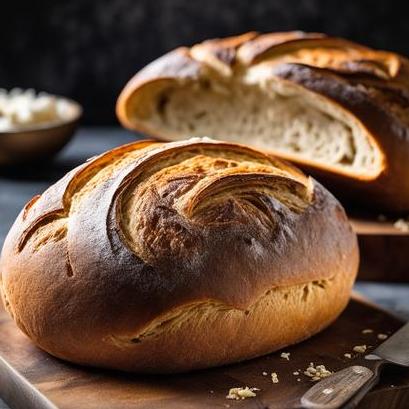
Properly assessing the doneness of your sourdough bread is crucial for achieving the perfect balance of taste, texture, and crust. Here are a few indicators to help you determine if your loaf is fully baked:
1. Internal Temperature
Using an instant-read thermometer, insert it into the thickest part of the bread. The internal temperature should register between 190-205°F (88-96°C) for a fully baked loaf.
2. Hollow Sound
Remove the loaf from the oven and gently tap the bottom. If it produces a hollow sound, it is a good indication that the bread is done.
3. Golden Crust
Check the color of the crust; a golden-brown hue signifies a well-baked loaf. Be cautious not to let the crust burn excessively.
Sourdough Bread Oven Recipe
Now that you have an understanding of the science, techniques, and variations, here is a simple yet satisfying oven recipe for creating your own delicious sourdough bread:
Ingredients:
-
500g bread flour
-
350g filtered water
-
100g active sourdough starter (100% hydration)
-
10g fine sea salt
Instructions:
-
In a large mixing bowl, combine the bread flour and filtered water. Mix until all the flour is hydrated, ensuring no dry spots remain. Cover the bowl and let it rest for 30-60 minutes, allowing the autolyse process to take place.
-
After the autolyse, add the sourdough starter to the bowl. Incorporate it into the dough using your hands or a dough scraper until evenly distributed.
-
Sprinkle the salt over the dough and continue mixing until fully incorporated. The dough will start to gain strength as you mix.
-
Perform a series of stretch and folds every 30 minutes during the first few hours of bulk fermentation. This will develop the gluten and give structure to the dough.
-
After the initial stretch and folds, let the dough ferment for an additional 2-3 hours or until it has increased in volume by about 50%.
-
Carefully transfer the dough onto a lightly floured work surface, shaping it into a tight ball. Make sure the seams are well-sealed.
-
Place the dough into a proofing basket, seam side up, and cover it with a clean kitchen towel. Allow the dough to proof in the refrigerator overnight or for at least 8-12 hours.
-
Preheat your oven to 450°F (232°C) and place a Dutch oven or heavy-bottomed oven-safe pot with a lid into the oven while it preheats.
-
Once the oven reaches the desired temperature, carefully remove the preheated Dutch oven. Sprinkle some flour or cornmeal on the bottom to prevent sticking.
-
Gently invert the proofed dough onto a piece of parchment paper, then score its surface with a sharp blade or bread lame.
-
Carefully transfer the dough, parchment paper and all, into the preheated Dutch oven. Cover it with the lid and return it to the oven.
-
Bake the bread for 20 minutes with the lid on, then remove the lid and continue baking for an additional 20-25 minutes or until the bread develops a deep golden crust.
-
Once baked, carefully transfer the bread onto a wire rack and allow it to cool completely before slicing.
Conclusion
Congratulations! You have completed this comprehensive guide to sourdough bread baking. Armed with knowledge about the science behind sourdough, tips and techniques, variations, and an oven recipe, you are ready to embark on your sourdough baking adventure. Don’t be discouraged if the first few tries don’t yield the perfect loaf. Baking sourdough bread is as much an art as it is a science, and with practice, you’ll soon be enjoying your own homemade sourdough masterpiece. So, savor the process, embrace experimentation, and have fun on your journey to becoming a skilled sourdough baker!
Sources
FAQS On Sourdough Bread Oven Recipe
What Ingredients Are Needed To Make Sourdough Bread In The Oven?
To make sourdough bread in the oven, you will need the following ingredients: sourdough starter, bread flour, water, salt, and olive oil (optional for added flavor).


