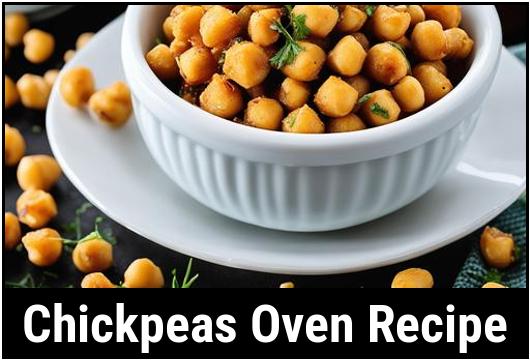
The Ultimate Guide To Delicious And Nutritious Oven-Roasted Chickpeas
If you’re looking for a healthy and flavorful snack, look no further than oven-roasted chickpeas! Crunchy, delicious, and incredibly versatile, these nutty legumes are packed with nutrients and can be seasoned to suit your taste. In this comprehensive guide, we will delve into the food science behind chickpeas, explore culinary details, provide helpful tips, and share a delightful oven-roasted chickpeas recipe. So grab a parchment paper, preheat your oven, and let’s get started!
The Wonderful World of Chickpeas
Food Science
Chickpeas, scientifically known as Cicer arietinum, belong to the legume family. Native to the Middle East, these protein-rich wonders have been cultivated for thousands of years and are now enjoyed around the globe. Chickpeas are available in two main varieties: the smaller and darker desi chickpeas, and the larger and lighter-colored Kabuli chickpeas.
From a nutritional perspective, chickpeas are a powerhouse of essential nutrients. They are an excellent source of protein, fiber, vitamins, and minerals such as iron, magnesium, and potassium. Additionally, chickpeas contain antioxidants that promote heart health and may even help with weight management.
Culinary Details
When it comes to culinary applications, chickpeas shine in both savory and sweet dishes. They can be used in falafel, hummus, stews, salads, and even in baking, where they add moisture and a delightful texture to various recipes. Today, we will focus on oven-roasting chickpeas to create a delightful and healthy snack.
Selection, Cleaning, and Preparation
Selecting the Chickpeas
Before embarking on your chickpeas oven-roasting adventure, it’s crucial to select high-quality chickpeas. Opting for dried chickpeas instead of canned ones not only allows for greater flavor customization but also enables you to control the salt content. Look for chickpeas that appear whole, unblemished, and uniformly sized. Avoid any chickpeas that seem discolored or damaged.
Cleaning and Soaking
Properly cleaning and soaking chickpeas is a crucial step to ensure optimum texture and mitigate digestive discomfort. Follow these steps:
-
Place the chickpeas in a colander and rinse them thoroughly under running water. Remove any debris or discolored chickpeas.
-
Transfer the chickpeas to a large bowl and cover them with water. Allow them to soak for at least 8 hours or overnight. This soaking process reduces cooking time and aids in digestion.
Cooking Options
Now that your chickpeas are soaked, you have the freedom to choose between stovetop cooking or pressure cooking. Stovetop cooking requires simmering the soaked chickpeas for approximately 1 to 2 hours until tender. On the other hand, a pressure cooker significantly reduces the cooking time to about 20-30 minutes. Whichever method you choose, ensure that the chickpeas are properly cooked and tender, but not mushy.
Remember to let the cooked chickpeas cool before proceeding to the next step.
Tips for Perfectly Roasted Chickpeas
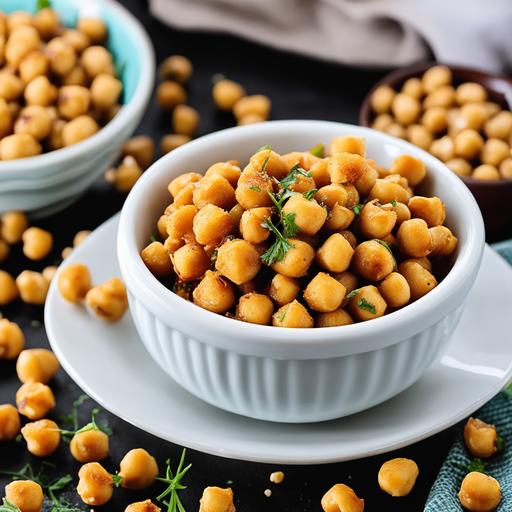
Achieving oven-roasted chickpeas that are crunchy on the outside and creamy on the inside requires attention to detail. Follow these tips, and you’ll be well on your way to snacking perfection:
-
Drying the Chickpeas: Before roasting, it’s vital to remove any excess moisture. Pat the cooked chickpeas dry using paper towels or a clean kitchen towel.
-
Removing the Skins: Although optional, removing the translucent skins off the cooked chickpeas can result in a crunchier end product. Rub the chickpeas gently between your palms to loosen the skins, then roll them on a clean kitchen towel to separate the skins from the beans.
-
Seasoning: Roasted chickpeas present the perfect opportunity to explore a wide range of flavors. From spicy paprika and cumin to sweet cinnamon and brown sugar, the options are endless. Don’t be afraid to experiment and find your favorite combination.
-
Coating Consistency: When mixing the chickpeas with your chosen seasonings, ensure an even distribution. The seasonings should coat the chickpeas generously but not clump together.
-
Proper Spacing: Spread the seasoned chickpeas in a single layer on a baking sheet lined with parchment paper. Avoid overcrowding, as this may hinder the roasting process and result in unevenly cooked chickpeas.
-
Heating the Baking Sheet: For added crispness, preheat the baking sheet before adding the chickpeas. This helps the chickpeas cook more evenly.
-
Stirring: Gently toss the chickpeas halfway through the roasting process to ensure even browning and prevent any sticking.
-
Cooling: Allow the roasted chickpeas to cool on the baking sheet for a few minutes. This allows them to become even crispier as they cool down.
Oven-Roasted Chickpeas Recipe
Now that you have the knowledge, it’s time to put it into action! Here’s a basic recipe that serves as a fantastic starting point for your oven-roasted chickpeas. Feel free to customize the seasoning to suit your preferences.
Ingredients:
-
2 cups cooked chickpeas
-
1 tablespoon olive oil
-
1 teaspoon ground cumin
-
1 teaspoon smoked paprika
-
1/2 teaspoon garlic powder
-
1/2 teaspoon fine sea salt
-
Optional: a pinch of cayenne pepper for some heat
Instructions:
-
Preheat your oven to 400°F (200°C) and line a baking sheet with parchment paper.
-
In a large bowl, combine the cooked chickpeas, olive oil, cumin, smoked paprika, garlic powder, sea salt, and cayenne pepper (if desired). Mix well until all the chickpeas are evenly coated.
-
Spread the seasoned chickpeas in a single layer on the prepared baking sheet, ensuring they are not overcrowded.
-
Place the baking sheet in the preheated oven and roast for 20-30 minutes, or until the chickpeas are golden brown and crispy. Stir the chickpeas gently halfway through the cooking time to ensure even browning.
-
Once done, remove the baking sheet from the oven and allow the chickpeas to cool slightly on the sheet for additional crispness.
-
Serve your oven-roasted chickpeas as a delicious and healthy snack, either warm or at room temperature. Store any leftovers in an airtight container for up to a week.
Overcooking and Undercooking
When it comes to oven-roasted chickpeas, finding the perfect balance between cooking time and desired texture is key. Overcooking can result in charred and dry chickpeas, while undercooking will leave you with soft and potentially underwhelming results. However, the beauty of oven-roasted chickpeas lies in their versatility, and even slightly overcooked or undercooked chickpeas can still be enjoyed with different culinary applications.
If you discover that your oven-roasted chickpeas are undercooked, fear not! Simply return them to the oven for some additional roasting time, being mindful of not exceeding the recommended cooking time to avoid burning. On the other hand, if your chickpeas are slightly overcooked, they can be mashed or pureed to create a delightful base for dips, spreads, and even hummus.
Variations and Flavor Enhancements
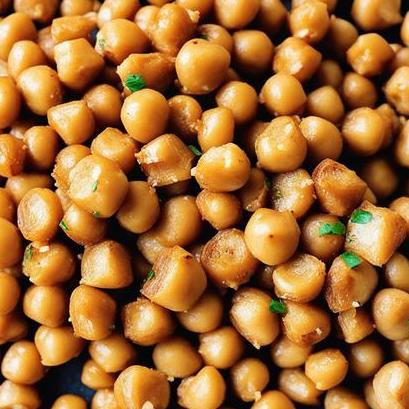
The flavor possibilities for oven-roasted chickpeas are practically endless! Once you have mastered the basic recipe, feel free to experiment with various spices, herbs, and seasonings to create unique flavor combinations. Here are a few suggestions to get you started:
-
Spicy Sriracha: Add a punch of heat by tossing the chickpeas with sriracha sauce, smoked paprika, and a hint of lime juice.
-
Balsamic Glazed: Create a sweet and tangy twist by mixing the chickpeas with balsamic vinegar, honey, and a sprinkle of rosemary.
-
Pumpkin Spice: Embrace the cozy vibes by coating the chickpeas in pumpkin spice seasoning and a touch of maple syrup.
-
Herbed Parmesan: Elevate your roasted chickpeas with a blend of grated Parmesan cheese, dried Italian herbs, and garlic powder.
Feel free to let your creativity soar and discover your own signature oven-roasted chickpea flavor combination!
Checking for Doneness
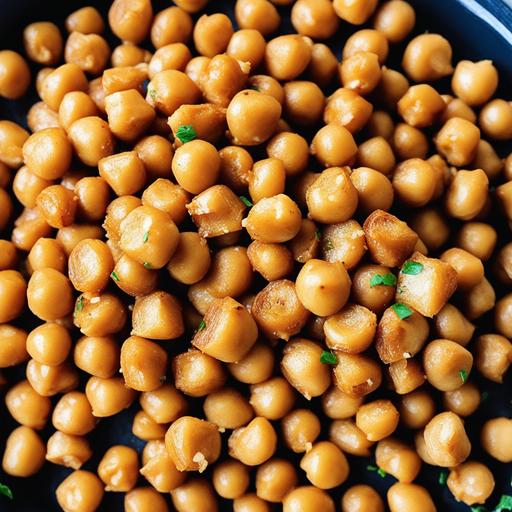
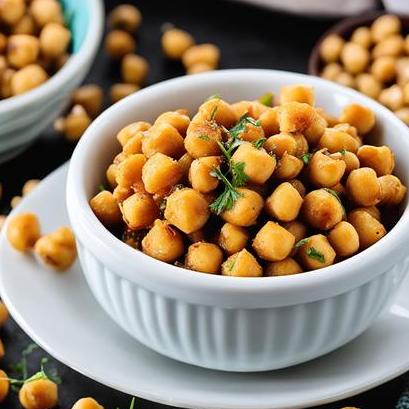
To ensure your oven-roasted chickpeas achieve the desired level of doneness and crispiness, a simple visual and textural check is all you need. The chickpeas should be golden brown, slightly shrunken, and crispy on the outside while remaining tender on the inside. If you’re unsure about their readiness, remove one chickpea from the oven and allow it to cool for a few seconds. Bite into it to check the texture. If it’s crunchy and not overly firm, your chickpeas are ready to be enjoyed!
Conclusion
Oven-roasted chickpeas are a fantastic, guilt-free snack option that delivers on both taste and nutritional value. With their versatility and endless flavor possibilities, you can adapt this recipe to suit your preferences and culinary adventures. We hope this comprehensive guide has inspired you to embark on your oven-roasted chickpeas journey. So heat up that oven, experiment with seasonings, and enjoy the crunchy goodness of roasted chickpeas as a tasty and wholesome snack.
Sources
FAQS On Chickpeas Oven Recipe
What Are Some Benefits Of Using Chickpeas In An Oven Recipe?
Chickpeas have high fiber and protein content, making them a filling and nutritious ingredient to add to your meals. They also have a low glycemic index, which can help regulate blood sugar levels and prevent sugar crashes.
Can I Use Canned Chickpeas For This Recipe?
Yes, canned chickpeas can be used in this recipe. Simply drain and rinse the chickpeas before using them in your recipe.
How Do I Ensure That The Chickpeas Come Out Crispy In The Oven?
To ensure that your chickpeas come out crispy in the oven, make sure to pat them dry before seasoning and roasting them. It’s also recommended to use high heat and spread the chickpeas in a single layer on the baking sheet to allow for even cooking.
What Seasonings Can I Use To Flavor My Chickpeas?
Chickpeas can be flavored with a variety of seasonings, such as paprika, cumin, garlic powder, onion powder, and chili powder. Fresh herbs like rosemary or thyme can also add a delicious touch.
How Long Can I Store Leftover Roasted Chickpeas?
Leftover roasted chickpeas can be stored in an airtight container at room temperature for up to three days. If refrigerated, they can last up to a week. However, note that the longer they sit, the less crispy they will become.


