

Bread Oven Recipe: A Comprehensive Guide To Baking The Perfect Loaf
Baking bread in a traditional bread oven is an experience that goes beyond just creating a delicious homemade loaf. The process engages all our senses – the tantalizing aroma, the satisfying crust, and the comforting warmth. In this comprehensive guide, we will delve into the art and science of baking bread in a bread oven, exploring every aspect from food science and culinary details to selecting, cleaning, and preparing your oven. Whether you are a seasoned baker or a curious novice, this article aims to equip you with the knowledge and tips to bake the perfect loaf, every time.
Understanding the Food Science Behind Bread Baking
To truly master bread baking, it’s essential to grasp the science behind it. Bread-making typically involves three main ingredients: flour, yeast, and water. However, each of these elements interacts with one another in intricate chemical reactions, leading to the formation of gluten, rising of the dough, and ultimately, delicious bread.
The Role of Flour in Bread Baking
Flour, a staple in bread recipes, contains two key proteins: glutenin and gliadin. When water is added to flour, these proteins combine to form gluten. Gluten provides elasticity and structure to the dough, allowing it to rise and retain its shape during baking. Different types of flour, such as all-purpose, bread flour, or whole wheat, have varying gluten content, affecting the texture and flavor of the final loaf.
The Magic of Yeast
Yeast is a crucial ingredient in bread baking as it acts as a leavening agent. As yeast consumes sugars present in the dough, it produces carbon dioxide gas, creating air bubbles that cause the dough to rise. This fermentation process not only adds volume but also imparts complex flavors to the bread. Active dry yeast or instant yeast can be used, but remember to activate active dry yeast before incorporating it into the dough.


The Role of Water
Water, while seemingly simple, has a significant impact on the bread’s texture. It hydrates the flour, allowing the gluten proteins to develop properly. The temperature of the water is also crucial, as it affects the yeast’s activation. Warm water (around 100°F/38°C) is ideal for activating yeast, while cold water slows down fermentation. Balancing the water-to-flour ratio is an essential aspect of bread baking, determining the dough’s hydration level and the resulting crumb structure.
Selecting the Right Bread Oven
To achieve bakery-quality bread at home, a suitable bread oven is essential. Modern ovens often have a dedicated setting for baking bread, but if you want to explore the traditional method, consider investing in a dedicated bread oven. There are several types to choose from, including brick ovens, wood-fired ovens, and even clay ovens. Factors to consider when selecting a bread oven include size, heat retention, and ease of use.
Cleaning and Preparing Your Bread Oven
Before you can start using your bread oven, it is important to ensure it is clean and ready for baking:
1. Removing Debris
Clean your bread oven by removing any debris or ashes from previous baking sessions. A clean oven will provide a consistent and even heat for baking your bread.
2. Checking for Damages
Inspect the oven for any damages or cracks that may affect its heat retention capabilities. A well-maintained oven will result in more consistent baking results.
3. Preheating the Oven
Preheating the bread oven is crucial to evenly distribute heat throughout the baking process. Aim for a temperature around 475°F (245°C) for most bread recipes. Allow the oven to heat for at least 45 minutes before baking.
Tips for Baking Bread in a Bread Oven
Now that you have your bread oven prepped and ready, let’s dive into some helpful tips for achieving a perfect loaf:
1. Use a Baking Stone or Dutch Oven
To recreate the professional baking environment, consider using a baking stone or Dutch oven. These tools help mimic the even distribution of heat found in commercial bread ovens. Place the bread dough directly onto the preheated stone or within the preheated Dutch oven for best results.
2. Steam Is Your Friend
Steam is crucial during the initial stages of baking, as it helps create a beautiful crispy crust. Just before placing your bread in the oven, pour some hot water into a pan at the bottom of the oven to create steam. Alternatively, spritz water directly onto the surface of the dough with a spray bottle.
3. Proper Dough Proofing
Allowing the dough to rise properly is essential for achieving a light and airy interior. Ensure you proof the dough at the right temperature to encourage yeast activity. Warmer temperatures around 75-85°F (24-29°C) speed up fermentation, while cooler temperatures around 45-55°F (7-13°C) slow it down. Finding the right balance based on your recipe and desired flavor is key.
Variations and Recipes
Now that you’re familiar with the fundamentals, it’s time for some delicious bread recipes to try in your bread oven:
1. Classic Sourdough Baguette
-
Ingredients:
-
500g bread flour
-
350g water
-
50g active sourdough starter
-
10g salt
-
Remember, this recipe assumes you have an active sourdough starter. Mix the ingredients, knead the dough, and allow it to proof before shaping it into baguettes and baking in your preheated bread oven.
2. Rosemary and Olive Focaccia
-
Ingredients:
-
500g all-purpose flour
-
400g water
-
10g instant yeast
-
1 tablespoon salt
-
Rosemary leaves
-
Pitted olives
-
Prepare the dough by mixing the ingredients, then allow it to rise for an hour or two. Transfer the dough to a baking sheet, dimple it with your fingers, and generously sprinkle with rosemary leaves and pitted olives. Bake in your bread oven for a deliciously aromatic focaccia.
Checking for Doneness
Knowing when your bread is perfectly cooked is an art that comes with practice. However, there are a few signs to watch out for:
-
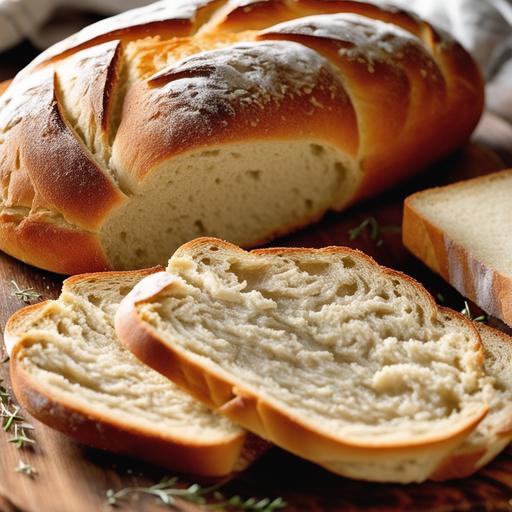
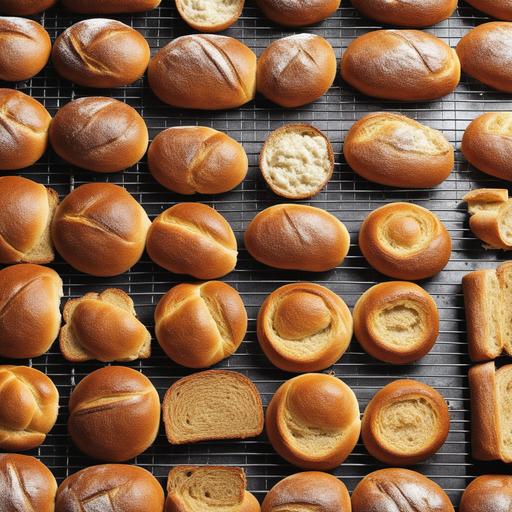
Golden Crust: A well-baked loaf should have a deep golden-brown crust that is evenly colored.
-
Hollow Sound: Tap the bottom of the loaf. If it sounds hollow, the bread is likely done.
-
Internal Temperature: Insert a thermometer into the center of the loaf, and it should read around 200°F (93°C).
Avoiding Common Mistakes
Avoiding overcooking or undercooking your bread is crucial for achieving a delightful loaf. Here are some common mistakes to avoid:
-
Overproofing: Overproofing can lead to a flat loaf with a dense texture. Keep an eye on your proofing time and temperature to prevent this.
-
Underbaking: Underbaked bread can be gummy and doughy. Ensure your oven is preheated sufficiently and follow baking time guidelines.
-
Incorrect Water Temperature: Using water that is too hot or too cold can negatively affect yeast activity. Find the perfect temperature range as mentioned earlier.
With practice and attention to detail, you’ll soon master the art of baking bread in a bread oven, creating loaves that rival those from your favorite bakery.
Conclusion
Baking bread in a bread oven is an incredibly rewarding experience. From understanding the food science behind bread baking to selecting the right oven, cleaning and preparing it, and following essential tips and variations, you are now armed with comprehensive knowledge to embark on your bread-baking journey. With practice and experimentation, you’ll be amazed at the incredible loaves you can create right at home. So unleash your inner baker, and let the aroma of freshly baked bread fill your kitchen!
Sources
FAQS On Bread Oven Recipe
What Are The Main Ingredients Needed To Make A Bread Oven?
To make a bread oven, you will need fire bricks, sand, clay, cement, and a piece of metal for the door.
How Do You Begin Building A Bread Oven?
First, you will need to dig a shallow circular foundation in the ground. Then, start building up the walls using the fire bricks and clay mixture. After the walls are built, create a dome shape by stacking the fire bricks in a circular pattern.
How Long Does It Take To Build A Bread Oven?
The time it takes to build a bread oven can vary depending on your building skills and the materials you use. It can take anywhere from a few days to a few weeks to complete.
What Type Of Wood Should Be Used For The Fire In A Bread Oven?
Softwoods such as pine, cedar, and fir are recommended for the fire in a bread oven. These woods ignite quickly and produce high heat, making them ideal for baking bread.
Are There Any Safety Precautions To Take When Using A Bread Oven?
It is important to wear protective gear such as gloves and goggles when building and using a bread oven. Make sure to also monitor the fire and keep a fire extinguisher nearby.